This is the next tutorial for how I create my journals using
the Eileen Hull Passport Die. This one shows how to make the cover. You can then
refer to the tutorial that shows
how to thread the elastic cording through the journal cover.
First, here are the materials you'll need:
- Medium Weight Chipboard: Click HERE to find on Amazon.
- 12X12 Adhesive Sheets: Click HERE to find on Amazon.
- Scor Tape: Click HERE to find on Amazon.
- Eyelets for spine: Click HERE to find on Amazon.
- PVA Glue: Click HERE to find on Amazon.
Here are the tools I use:
- Teflon bone folder: Click HERE to find on Amazon.
- Mini Glue Bottles: Click HERE to find on Amazon.
- Crop-A-Dile Big Bite: Click HERE to find on Amazon.
- Sizzix Big Shot: Click HERE to find on Amazon.
- Extended Cutting Pads: Click HERE to find on Amazon.
- Eileen Hull Passport Die: Click HERE to find on Amazon.
NOTE: As an Amazon Associate, I earn from qualifying purchase.
Prepare the cover
For the most efficient use of the chipboard, these instructions enable you to cut three covers from two pieces of 8-1/2 X 11 inch chipboard.
1. Cut two pieces of medium-weight chipboard in half: 5-1/2 X
8-1/2. You’ll have four 5-1/2 X 8-1/2 inch pieces.
2. Cut three of those pieces in half to 4-1/4 X 5-1/2. You’ll
have six 4-1/4 X 5-1/2 pieces, or enough for three front and back covers.
3. From the remaining 5-1/2 X 8-1/2 inch piece, cut across into
three 2-7/8 X 5-1/2 pieces. These three pieces will the spines for the three
covers.
Cover pieces. You'll use two for the front and back covers of one journal.
Spine pieces. You'll use one for the spine of one journal.
Prepare the adhesive sheets
You’ll need one 12X12 adhesive sheet for each cover.
Cut each sheet into three strips: two strips will be 4-1/4 X
12 inches and one strip will be 4 x 12 inches. Then cut each of the previous strips in half lengthwise,
resulting in four 4-1/4 X 6 inch pieces and two 4 X 6 inch pieces.
You’ll adhere one of these pieces to each side of the
cover and chipboard pieces, so will use them all.
Prepare the printables for your covers and spine
You’ll need images for the outside of the front and back
covers, the inside of the front and back covers, and the front and back sides
of the spine.
Your printables will
need to be a little bigger than the dimensions of the die.
- The front and back covers
measure 3-1/2 X 5 inches each, so I size my printables to about 3-3/4 X 5-1/4
inches.
- The spine measures 2-1/4 X 5 inches, so I size my printables for the
spine to about 2-1/2 X 5-1/4 inches.
Attach the adhesive sheets
Adhere the adhesive sheets to both sides of the covers and spine. Then burnish them down using your bone folder.
Peel off the narrow yellow liner piece to reveal the adhesive and attach to one of the cover pieces.
Pull off the rest of the yellow liner and stick to the chipboard.
Then, trim off any excess of the adhesive sheet.
Unfortunately, only one edge of the 12X12 sheet has an edge to make it easy to peel off the yellow liner. I use a craft knife to LIGHTLY cut through the liner so I can peel it away.
When you are through, two cover pieces and one spine piece should be covered with adhesive.
Attach the printables to the covers and spine
Peel the remaining liner sheet from the adhesive sheet that is on one side of the cover or spine. Add the printable that will be on that side of the chipboard. Continue until all of the printables are on the covers and the spine.
Trim off the excess chipboard.
Continue until you've added printables to both sides of the covers and spine. NOTE: I add PVA glue on top of the adhesive before adding the spine printables. That is the part of the journal that receives the most stress and have found that this adds strength to the journal.
Outside of the covers and spine.
Inside of the covers and spine.
To cut the covers
Refer to your die cutter instructions for how to use the passport die and cutting pads if you have questions after reading the details below.
Place the passport die on top of one extended cutting pad. Then lay one of the cover pieces over the part of the Eileen Hull passport die for cutting the cover.
Place another extended cutting pad on top and run it through your die cutter.
Here is the result of cutting:
Repeat with the other cover.
Next you'll cut the spine. IMPORTANT: place the spine piece with the side that will be on the outside of the journal face down on the die. That ensures that the score lines (for folding) will be on the outside of the journal, which is necessary for folding the spine.
Top with the other cutting pad and run through the die cutter. Here is the result:
After you have cut each of the pieces, you're ready to add the eyelet to the spine and assemble the cover.
Add an eyelet to the spine (optional)
This is easily done with the Crop-a-dile Big Bite, but the regular Crop-a-dile will also work as long as you do this before assembling the cover.
Punch a 3/16th of an inch hole in the center of the spine piece, and insert an eyelet.
Then use the Crop-a-dile to set the eyelet.
Assemble the cover
I typically ink the edges of the covers and spine before assembly. But this is optional. Use an awl, a pair of mini scissors, or a large needle to clear out the holes in the spine. Then, fold over the two sides of the spine. Be careful to NOT fold the center score lines at the same time.
You will need to decide whether the spine will wrap around the outside of the journal or whether the covers will lie on top of the spine. I prefer the latter because then I can see the entire cover. Plus it adds some contrast to the inside of the journal.
Place a length of 1/2-inch Scor tape on the two flaps of the spine. The picture below shows where to put the tape if you are placing the covers on top of the spine. If you are wrapping the spine on top of the covers, place the tape on the back of the spine on the flaps.
Remove the tape from one side and top with PVA glue to strengthen the bond, and to give yourself a few seconds of wiggle time.
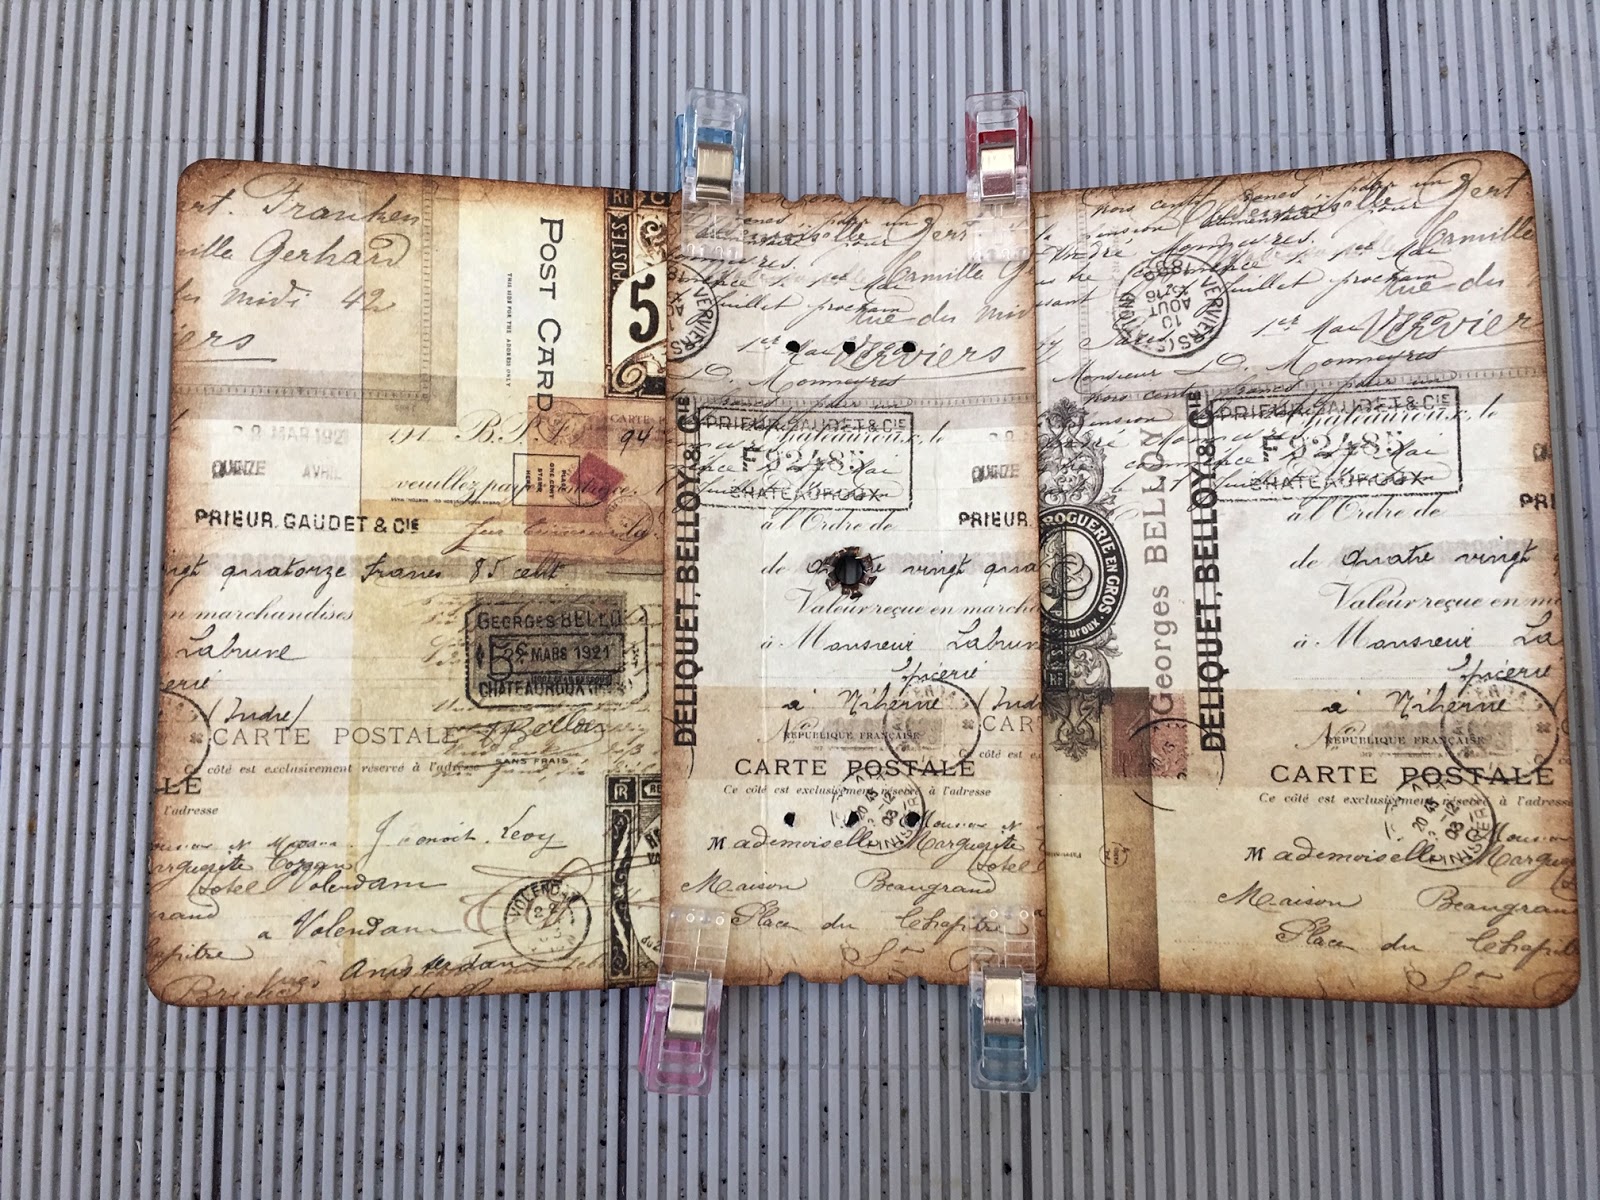
Add the appropriate cover. In this case I'll add the front cover and hold it in place with quilting clips. Repeat with the other side of the spine and remaining cover.
Here's what the cover looks like from the inside.
When the glue is dry, you're ready to add the elastic cording to hold the signatures.
I've written a tutorial that shows this step in the process, that you'll find
HERE.
The remaining step to complete the journal is to create the signatures. I'll be working on this tutorial over the next week or so.
I hope you enjoyed seeing this process.
NOTE: As an Amazon Associate, I earn from qualifying purchase.