Sunday, January 31, 2010

My Baby Lock Espire -- Perfect for Machine Applique

One of the features of my new sewing machine, the Baby Lock Espire, is a pivot feature. When this feature is turned on, the pressure foot automatically lifts up and the needle stays down when you stop sewing. When you once again press on the foot pedal, the pressure foot goes down and sewing again begins. This enables you to keep your hands on the piece being sewn, rather than have to lift the pressure foot with the machine lever. It is perfect for sewing curves because you can sew 4 or 5 stitches, stop, pivot the fabric, and immediately continue on -- never taking your hands off of the fabric.

I've finished preparing the circles to be appliqued to the border (i.e. pressing the seam allowances around the freezer paper) but still need to prepare 52 quarter-sized circles for the yellow berries. I've gotten pretty good at doing the circles, so my guess is that it will take about an hour to do the berries. Hopefully I will have time to do this tomorrow night -- and then stitch them onto the project.  I'd love to finish the quilt top and take it to be quilted asap! I have loved this machine applique technique and have many, many projects in mind to now do!

Saturday, January 30, 2010

First 2010 UFO Finished

Finished, that is, with a little help from my mom! This was a paper-pieced project I took as a class at the Country Quiltworks shop in Montgomeryville, PA (about 10 years ago!). The top has been finished for ages, and after seeing a Fons & Porter TV show on big-stitch utility stitching,  I decided to try my hand. And I got about 75% done -- only to have the project get put in the closet after I moved to UT. My mom enjoys different types of stitchery and needlework, so she agreed to finish the big-stitch quilting for me. It is a great little quilt that will definitely get used. I'll be putting it in my red, white and gray office.

Here's a close-up of the quilting.


Winterfest Recap

After two and a half days at the Winterfest quilting retreat -- in the beautiful mountain setting at Daniels Summit -- I am now back home.  I took three classes from Kim Diehl and one from Amy Maxfield, one of the partners and organizers of the event. I feel that I am now well trained in Kim's machine applique technique. Even though I've read (and even tried) her technique through her books, it was wonderful to have the opportunity to see her demonstrate it and learn the many tips and tricks she has perfected in the process of making dozens of fabulous quilts.

Rather than come home with 4 unfinished projects, I spent the time in the 2nd and 3rd Kim Diehl classes continuing to work on the first class' project. I'm glad I did because I actually have something to show for my time away! Here's how far I got on the project while at the retreat. All I have left are the flower buds at the end of some of the stems, some berries, the pieced border with appliqued circles and a circle medallion for the center of the quilt. Here's a link to my post with a picture of Kim's original quilt.


I  love the machine applique technique and look forward to using in on the many applique projects on my to-do list!

Wednesday, January 27, 2010

A Sneak Peek

Last night I fired up PC Stitch Pro and worked on a design I started a while back.  I will probably do some more tweaking of colors, but here's a sneak peek at my "Charity Never Faileth Sampler".


I'm off to the HQNA Quiltfest in about 4 hours!


Monday, January 25, 2010

Happy first birthday to Hadley!

The little princess opening presents:


Stripped down and contemplating her birthday cake:


The cake is now history:


Afterward came the not-so-fun part -- a "shower" in the kitchen sink.

I May Have Gone a Little Overboard!

I'm definitely ready to sew some Schnibbles. I don't know that I'm doing the same projects as those who have been making them for the past several months, but I picked the ones I like and am ready to get sewing!


I've also been slow to purchase charm packs and layer cakes -- due to my bountiful stash. But, I stocked up on  some charm packs and a couple layer cakes. I gravitate towards Civil War and Folk Art fabrics, which I know aren't always the best choices when making quilts for my nieces and nephews and new babies. So the charm and layer cake packs are a good way for me to break out of my fabric rut and use fabrics I wouldn't typically purchase.  The Oz and Blush lines are a bit more of a stretch for me -- and I'm looking forward to using them (most likely in a Schnibble). I  love the fabrics, but they aren't "me". Some lucky  family members will probably be the recipients of those quilts.


I can't wait to get started! But tonight I'm doing laundry and cleaning my kitchen since I'll be running errands tomorrow evening -- and then off to the HQNA Winterfest retreat with Kim Diehl. My fabrics are ready for my classes. I just need to make sure I have all of my supplies, and then pack my car for Wednesday! I'm hoping that I'll be able to take some photos at the event that will be of interest  to you!

Cross Stitch Work in Progress and My Last Finishes

The past couple years have been incredibly distracting and busy because of my full-time job, as well as teaching the adult Sunday School class at Church. Until October 2008, I hadn't done any serious quilt sewing for a couple years, and it had been even longer since I had finished a cross-stitch project.

These were my last few finished stitchery projects (finished stitching, that is -- they aren't framed or otherwise "finished"). They were finished in 2006! Shocking that I've let so many months (even years!) go by without stitching. (Wouldn't you know it -- after I photographed this project, I noticed that I missed one of the leaves! It's so obvious looking at it here, but looking at the actual piece, it's not so obvious.  So I guess it isn't quite finished after all!)


I had started the following Blackbird Designs piece before my stitching hiatus -- but I've been able to put a good 15 hours work into it over the past week. It sure feels good to be stitching again!


Saturday, January 23, 2010

Cross Stitch Gallery

Projects waiting to be framed.


Completed Cross Stitch Projects

Back from Philly

I spent Monday p.m. through Saturday a.m. in Philadelphia (for all-day meetings for work, Tuesday through Friday). My flight out of PHL this morning was at 7 a.m., which  meant the alarm was set for 5:10.  I stayed the night at the airport Marriott, so I only had a 5 minute shuttle ride to the terminal. But here's where it got crazy. I arrived on Monday via Delta in terminal A, where Delta has been for the past few years. However, when the shuttle driver cruised by terminal A, I asked him whether he forgot that I was going to Delta. Well, it turns out that during the week Delta moved back to terminal E, where it had been before the move to A. That was fine -- except that even though Delta check-in is now in terminal E, the gates are in terminal D!!! Since I travel to Philadelphia once every 3 or 4 weeks, this is going to be a real pain! At least I was upgraded to first class both going and coming.

But boy did I miss my sewing machine! However, I did take counted cross stitching with me and was able to stitch on the plane, plus found time a couple evenings to work on my travel cross-stitch projects. But why do hotel rooms always have such crummy lighting? I used to travel with a 150 watt bulb and replace the bulb in one of the hotel lamps in order to see what I'm stitching. But now I travel  with a battery-operated, clip-on  LED light which works great. I bought mine from Amazon.com -- and it works with my Kindle as well. This light is light-weight enough that I can clamp it right to my hoop and it doesn't add much weight.


I thought I'd share what I use to transport my cross-stitch projects -- the plastic zippered bag that pillow cases often come in. I'm sure I'm not the first to think of this, but it works very well.


The dimensions are approximately 5.5 x 9 x 2 inches -- perfect for carrying around a couple small projects. Just look at everything I can carry in this little bundle.


From the photo you can see a couple of my tricks for when I cross stitch while traveling (and even when I'm not traveling for that matter). The first is to pre-thread a bunch of needles with the different floss colors I'll be using. That way I don't have to take time to thread needles while at 35000 feet! And while I love the many darling needle holder/organizers -- as you can see, I've just used scraps of quilt batting for holding my threaded needles.

I usually travel  with these Gingher thread snips -- and I haven't had any problem taking them through security (at least since about 2003).


I also travel with these scissors -- for when I need to undo a big area of stitching (rather than unpick). I had to replace these scissors because they WERE confiscated by security in Paris -- even though they were fine in the US, the French authorities weren't at all accommodating! I was not happy -- especially since  they are perfectly harmless.


You can see the little notch in the scissors for lifting up any threads you want to snip. Very handy for this purpose, but the scissors aren't very sharp for other uses.

I hope this post has given you some ideas for taking your projects with you when you travel.

PS: I love listening to books on my iPod while stitching. I'm nearly through My Life in France, the biography of Julia Child which tells of her experience there only a few years after WWII, what it was like learning to cook at the Cordon Bleu, and the exacting process she followed while writing her classic Mastering the Art of French Cooking book.

Sunday, January 17, 2010

A Half-Year of Schnibbles

So I missed the "memo" about a Year of Schnibbles. I recently discovered these darling "little quilts" -- and even made my first one before I knew it was quite the rage among quilting bloggers.

I finished this top just before Christmas 2009.


For this quilt I went through my scrap basket and used lots of small scraps. I didn't have enough lights so did have to use a few fabrics from my FQ stash to finish all of the blocks -- but this was a great project for using the miscellaneous pieces that were piling up.

I have since bought many of the other patterns and more than my share of charm packs. So, I'm hoping to make one a month for the next several months. I haven't done much machine quilting, but these are just the right size for me to hone my skills.

Spinning Stars Test Block

Do you do test blocks? I do, especially if I'm going to be making  a lot of the same block. I want to figure out the most efficient way to make the block. For example, can I strip piece and then sub-cut some of the units? Should I cut some of the pieces a tad bigger and then trim the unit to size after it's been sewn? Which way should I press seams to make construction clean and easy? Where will I want to carefully pin so points and seams all match up? You get the picture.

So, I made a test block of my Spinning Stars quilt since it was a block I drafted in EQ6 and I wanted to make sure I had worked out the best way to approach it before getting too far into the quilt. In fact, I ended up making 1 test block out of scrap fabric, and then another using the background fabric that I'm using throughout my quilt -- in hopes that the block will be a keeper. I'm glad I did a test because even though the block is fairly simple, I found that there are lots of places where I'll need to match points on both units being sewn together. Then I realized that I would have to match two points for every block joined to another block -- and with 32 blocks set on point that was going to be time consuming.

The result? I ended up re-drafting the block so that the star points "float" in the background fabric. I'll still need to match where the flying geese units join up to the square-in-square blocks, but I won't need to be as precise when sewing the blocks into rows. You can see the before and after below:

 Block before


Block After


I'm still working out the dimensions for how far the star  will float in the background fabric -- so it may only be 1/2 inch from the outside of the block, rather than what I think is 1-1/2 inch in the picture.

Quilt Before


Quilt After


I actually think I like it better after -- because the stars seem to float even more. (I didn't take the time to change the colors in each of the blocks -- but each block will use two fabrics that are unique. So the entire quilt will use 64 fabrics + background + borders + backing.  And, as I mentioned  in my original post about this quilt, I'm still going to figure out something different for the borders.

I guess I'll be making another test block!

Saturday, January 16, 2010

Weekend Excursions and Projects

I signed up for a free pressure cooking class at the Sandy Bosch Kitchen Center in hopes that I would learn some new tricks for using my pressure cookers. I have both an electric one as well as a standard one that you use on top of the stove. Unfortunately the teacher didn't have much to teach me about cooking with pressure that I didn't already know. However, there was one trick that was fascinating. One of the techniques the teacher demonstrated was pressure cooking chicken breasts. First she browned the chicken, then added seasoning, water and barbeque sauce -- and pressure cooked for 7 minutes. Nothing unique about that -- but the way she shredded the chicken was a first for me. She cut each chicken breast into about 3 chunks and put it in the bowl of her Bosch mixer.Then, using the wire whisk attachments she shredded the chicken. In about 30 to 40 seconds the meat was perfectly shredded. Pretty nifty.

After the class, I swung by Quilts Etc. and bought fabric for a quilt I designed in EQ6.  These are the fabrics I picked. I typically do scrappy quilts, but I loved these fabrics enough that I'm doing a quilt with only these 6 fabrics.


The first three fabrics are from Brannock and Patek's Blessings line with Moda; the fourth fabric (which shows as a larger scale than it really is) is from Windham's Nancy's Blues fabric line. The red star fabric is American Patriot designed by Faye Burgos for Marcus, and the final fabric is from Kansas Troubles Winter Serenade II.

This is the quilt I'll be making with these fabrics. The blocks will be the first four fabrics, with the Windham fabric as background. The dark setting squares will be the blue paisley, the setting triangles will be the Kansas Troubles fabric, and the border will be the American Patriot.


Here's a close-up of  the block with my chosen fabrics.


I sewed the blocks for Emrie's baby quilt -- but still need to finish sewing the blocks together, as well as do the border.


 I'm still debating whether to use this brown floral/stripe fabric for the border. The spool blocks are pretty simple, but it takes some planning because in some cases fabrics from two spools are in the same block.  Unfortunately, I'm heading out of town for a week for work, so won't be able to get back to this for a week.

The other project I did was to finally figure out how to do hemstitching to prepare flannel baby blankets and burp cloths for crocheting. Eureka! My new sewing machine works great. Only problem was that I didn't use a wing needle, so am now using my stiletto to make the holes bigger for crocheting.

Friday, January 15, 2010

So, let's talk irons...

Clearly one of the most important tools a quilter needs is a good iron. When I got back into sewing quilts (about 11 years or so ago), I decided I needed a good iron. (Hardly ever needed to iron clothes -- thanks to permanent press fabrics, the de-wrinkle cycle on the dryer, and of course, Downy Wrinkle Remover.)

I used my $15 Proctor Silex basic iron for the first year or so of my renewed interest in quilting. But, since it was clear that quilting was going to stay in my life, I was sucked into the belief that I needed a new iron. I ended up purchasing a Rowenta -- thanks to QVC and a persuasive on-air sales person. It was OK, but I never thought it got very hot, didn't put out good steam, and its auto-shutoff cycle was sooo short. After a few months, I reverted to my Proctor Silex.

Then, one year, my mom gave me a new cordless Maytag iron -- you know, the one that Marianne Fons and Liz Porter were promoting on their TV shows. Definitely not a cheap investment.  And, yes, it is very nice to not have to deal with the cord -- especially if you are pressing a full quilt. But even it failed to live up to the hype. Within a year, it started to seep goo from the iron's "joints".


Perhaps you can see from my pic above where the goo has seeped out. It got to the point where the iron couldn't hold any water for steam pressing. Not a big deal, because it still got nice and hot and I could use Mary Ellen's Best Press or a scented linen spray or just spray with water. I'm guessing the iron wasn't designed to be used off and on all day. It would shut off after 4 or 5 minutes -- can't remember exactly how long. But then the temperature dial fell off, meaning I was stuck with the temperature it had been the last time I used the dial -- hot enough, but when combined with the other issues, it was once again time for a new iron.

So, I trolled some of the sewing bulletin boards to see what kinds of irons people were recommending. There were the Rowenta fans, the fans of the older, heavy, classic metal irons, and some were recommending brands I'd never heard of (and available for equally outrageous prices). In the end, I decided on a mid-range Black and Decker Digital Advantage iron (think I paid about $35 on Amazon). And so far (after about 6 weeks), I really like it. It's light-weight. It heats up quickly -- even if it has timed out. It generates good steam. And it didn't cost an arm and a leg.  My only complaint -- and this is hardly worth  mentioning, is that because it's digital, when you turn it on you have to set the temperature. Whereas with an analog iron, all I did was turn on the power strip it is plugged into and the dial setting was already set to the temp I needed.

Oh, a little safety tip here...
I have both a light and my iron plugged into the same power strip. I ALWAYS  know if I've left my iron on when I leave my sewing room because the light is still on. Light off -- iron off;  light on -- iron on.


I'm joining in!

Joining in on an online quilt-along that is! 


Since the first week's assignment is to assemble fabric, I can probably do that even though I'll be traveling for work most of next week. I usually don't purchase layer cakes -- but I ordered a layer cake of Minick and Simpson's Bar Harbor fabrics a couple days ago. And since I have a full bolt of white cotton broadcloth, I'll be set for the background as well.

For anyone interested in learning more, check out p.s. i quilt.

Sewing Rooms / Sewing Spaces

When I moved back to Utah (7 years ago this month), I knew that my new home HAD to have a room dedicated to my creative projects -- whether that be quilts, cross stitching, decorative painting, or other new hobbies I had yet to take on. In my Philadelphia home I took over the dining room table for my projects and my pine hutch for storing the supplies -- NOT very efficient.

I decided to turn one of my downstairs bedrooms into a sewing room. Some of my must-have requirements:
  • LOTS of cupboard and drawer space for stash, WIPs, UFOs, patterns, books, tools, etc.
  • A cutting and pressing area at a comfortable counter height
  • A desk area for a computer and printer
  • Sewing machine area, with room for two machines and two sewists (I didn't want to say "sewer" because that has another meaning that isn't too appealing, and "seamstress" implies clothing construction)
  • Place for TV with VCR/DVD/cable connection
I worked with a local kitchen contractor to design and build my dream sewing room.  It took a week to get the initial plans, 3 weeks for the cabinetry and counter tops to be pre-fabbed, and 2 days (about a week apart) to install.  I've had my dream sewing room for 5-1/2 years and there are very few things I would do differently.


View from the doorway
You'll notice that the surface for the sewing machine is lower than the computer desk area. When you are deciding on the height, be sure to take into consideration how much  space from the table top to the sewing surface of your sewing machine. It's the sewing surface height that matters -- you want your arms to bend at a  90-degree angle for greatest comfort (especially for those marathon sewing sessions).


My sewing "peninsula" enables me to place my machine at an angle (leaving more table-top space to support large quilts when attaching binding or doing machine quilting), but I can also have it face the front of the area and have room for another machine on the other "leg" of the peninsula. That machine can even be positioned such that another "sewist" can sit on the other side of the peninsula with an open area at their feet.

You'll notice that I didn't have electrical outlets repositioned from near the floor to above the cabinets. To save money, I just had my contractor drill grommet holes in the counter and I plug in a power strip to the original outlet (dropping the cord through the hole) to accommodate my electric needs. Same with my cable connection and telephone connection -- those cables simply go down the hole to the wall which is accessible from inside the cabinets.


I considered a design wall, but I would have had to give up cupboard space -- so instead, I have a "design floor". I've been thinking of turning the hall wall outside my sewing room into a design wall.


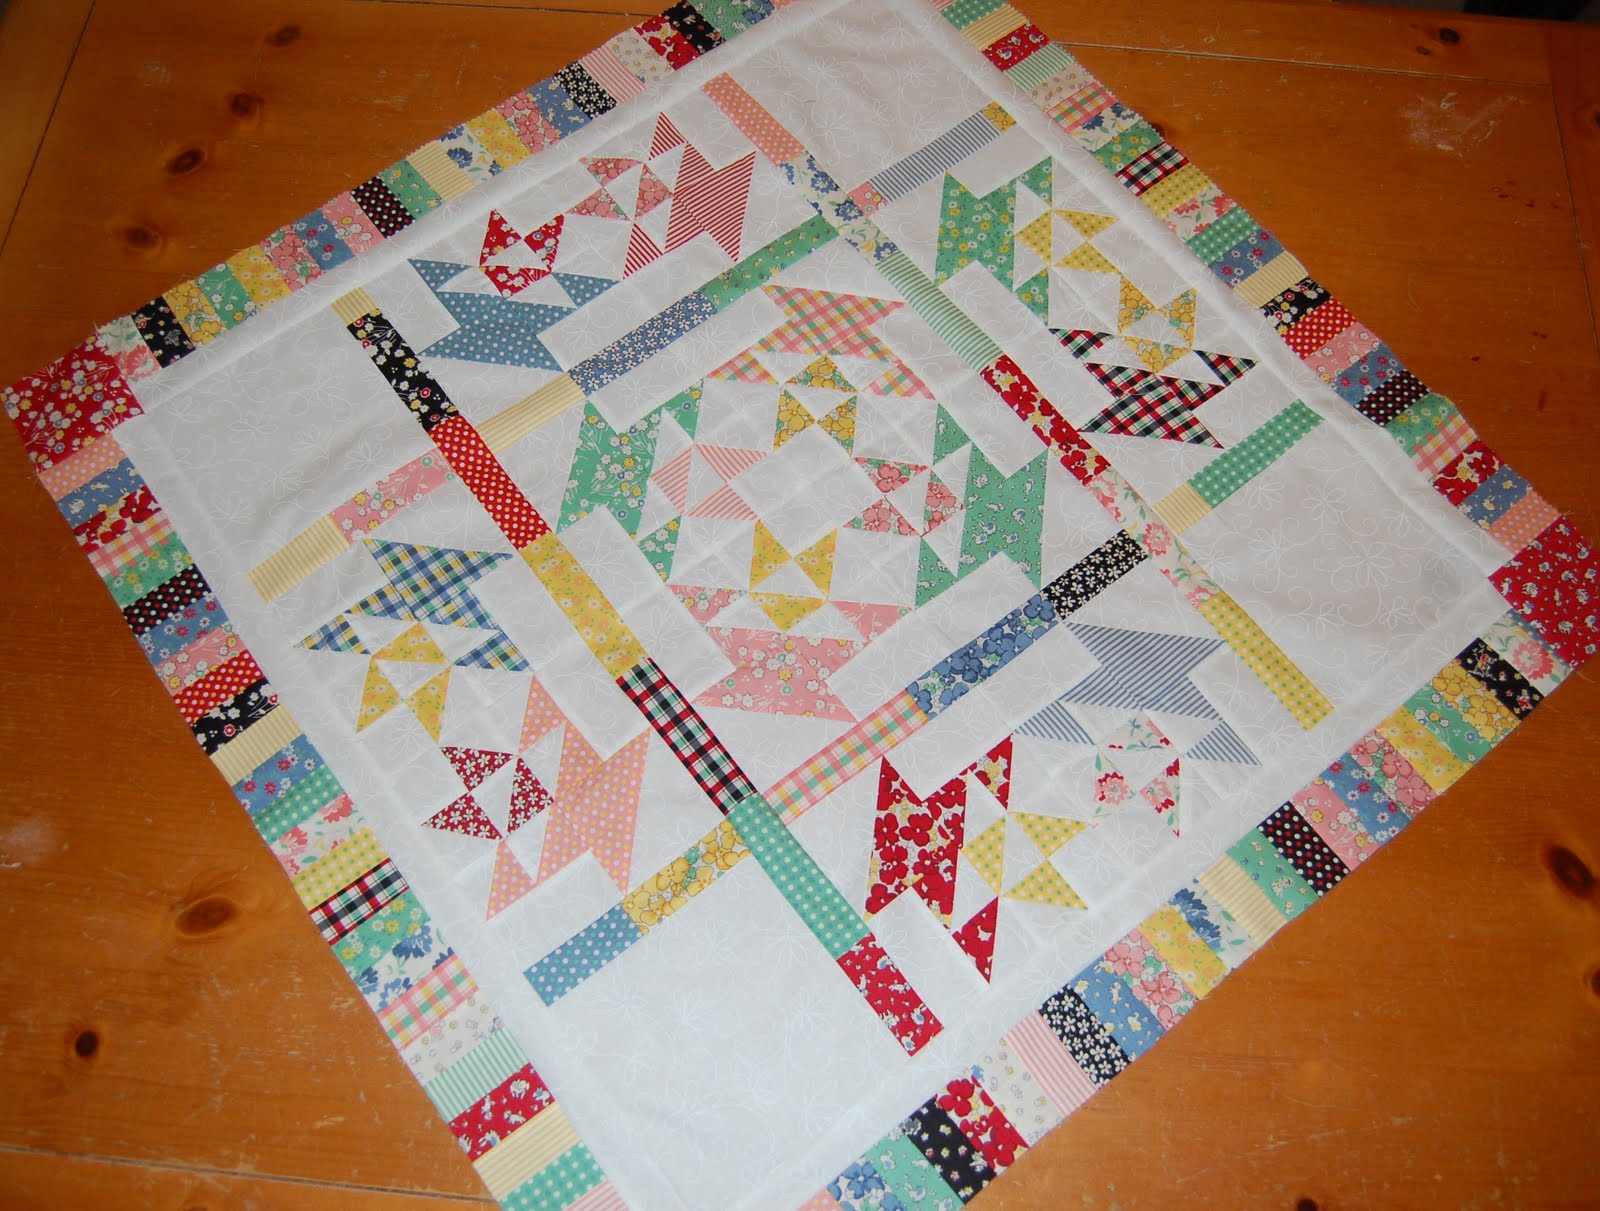
The pantry cabinets are for my fabric stash, as well as tops ready to be quilted, blocks ready to be made into a top, and more. I love that I can close the doors and there is some semblance of order to my sewing room.


This photo was taken a few years ago -- and the stash has grown significantly. This almost looks organized. The pantry cupboard on the right has fabrics organized by color and style (i.e. the batiks are together, the novelites are together). The cupboard on the left has all of my flannels and plaids, kits, and now has my growing stash of yardage for backing and backgrounds.

There is a closet on the same wall as the door into the sewing room, but it currently has wood for decorative painting projects that are waiting either to be started or finished.

If you are designing a new sewing room or sewing space, I suggest that you definitely read the books "Dream Sewing Spaces" by Lynette Ranney Black and "Setting Up Your Sewing Space" by Myrna Giesbrecht.
 

Need more inspiration and great ideas? You also might want to check out the many links assembled by Carol on her site. Or the great links to  sewing rooms on A Prairie Home Quilts.

I  do love my sewing / craft room. There aren't any things that I would do differently with this room. However, it would be wonderful to have twice this amount of space. I'd love to have room for a long-arm quilting machine. I'd like to have room for a design wall (or even more floor space for my "design floor"). It would be nice to have room for a couple of comfy chairs and to have a larger computer area (so it could have a chair and not have to move it in order to move around the room). But I know that what I have is definitely sufficient for my needs -- it's just that my wants typically are greater than my needs.

Thursday, January 14, 2010

Time to make another 30s quilt?

I've made two quilts with 30s reproduction fabrics. My niece was the recipient of one of them when she got married. The pic below is before it was quilted. This is the link to see the finished quilt.


I still have the other quilt, which is a sampler with both 12-inch and 6-inch blocks, and a "piano key" border.


The quilt underneath my quilt is the quilt my grandmother made for my mother when she was married in 1952. It's a scrappy double-wedding ring quilt with coral and aqua in the 4-patch units that connect the pieced melons. Of course, it's hand-quilted, but my mom can look at it and pick out fabrics that were used in clothes she wore as a child or aprons my grandmother wore. It's a true heirloom that I treasure. You can see a hint of the edge of the quilt and how my grandmother kept the scallop-y edge.

Anyway, I still have loads of 30s fabrics and a full bolt of good-quality white fabric. So, in the true spirit of stash-busting, I guess it's time to make another 30s quilt -- although there are so many new 30s prints that I haven't seen before that I might be tempted to buy a few.

Here are a few quilts I've noticed lately that will serve as inspiration to get started:


I LOVE this darling apron quilt.


From Lori Holt,  Bee In My Bonnet


I'm thinking this is the one I'm going to make!! From www.fabricessentials.com


LinkWithin

Related Posts with Thumbnails